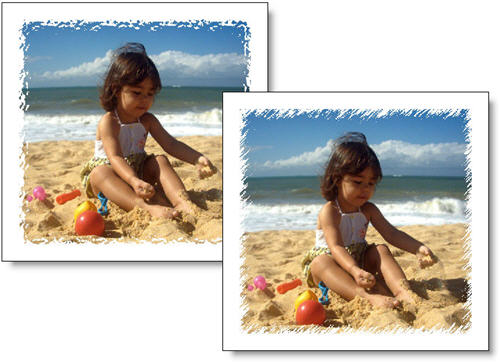
You don’t need to be a Photoshop guru in order to create good photo effects. Sometimes the simplest tricks can dramatically improve your pictures and make them more visually attractive. A very good example is easy tutorial, with which you can add an interesting border to your photos in just a few steps and obtain something like this:

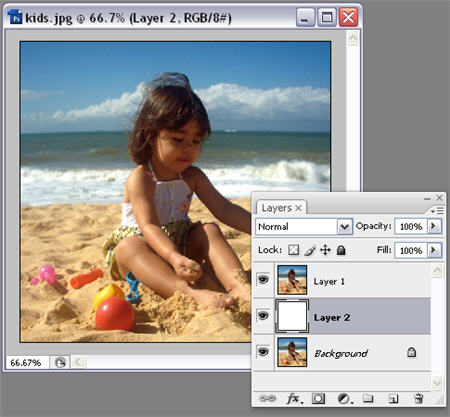
1. Open your photo, duplicate the background layer with Ctrl+J, insert a blank layer between them and fill it in with white.
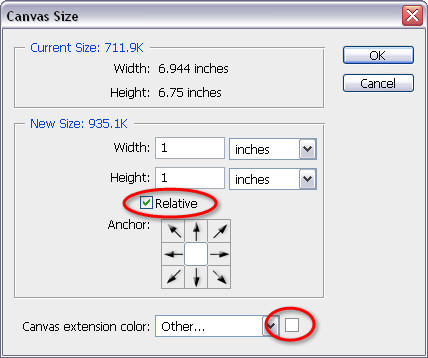
2. Go to Image > Canvas size and enlarge the canvas by one inch, making sure the Relative option is checked and that the canvas color is white.
3. Now click on the background copy layer thumbnail in the Layers palette while pressing Ctrl. This will select the contents of the layer. Then go to Select > Modify > Contract and reduce the size of the selection by a few pixels (8 in my example).

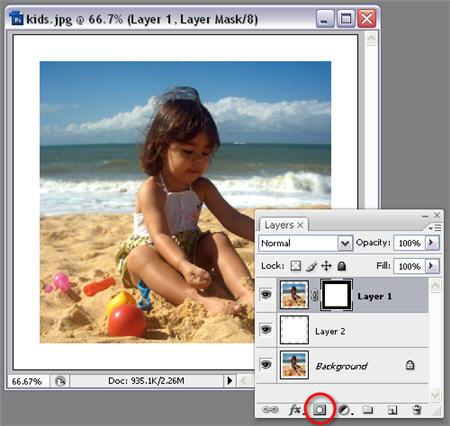
4. Keeping the background copy layer selected, create a layer mask.
5. Now it’s time to add the border effect: click on Filter > Brush Strokes > Spatter and move the Radius and Smoothness sliders until you like the results. Click on OK.

6. Then go to Filter > Distort > Glass and fiddle with the Distortion and Smoothness sliders as well. When you’re done, click on OK.

7. Your photo border effect is finished! Remember you can always try other brush strokes and filter configurations in order to achieve different results.