Last year I wrote a Photoshop tutorial about how to get a virtual tattoo which seems to be quite successful amongst our readers. This is why I thought about the perfect complement: a tutorial on how to get a piercing done in Photoshop. In fact, this might come in handy if you’re considering the possibility of having a real piercing done – or just to make fun of a friend. Simply load up a picture in Photoshop and follow these steps:
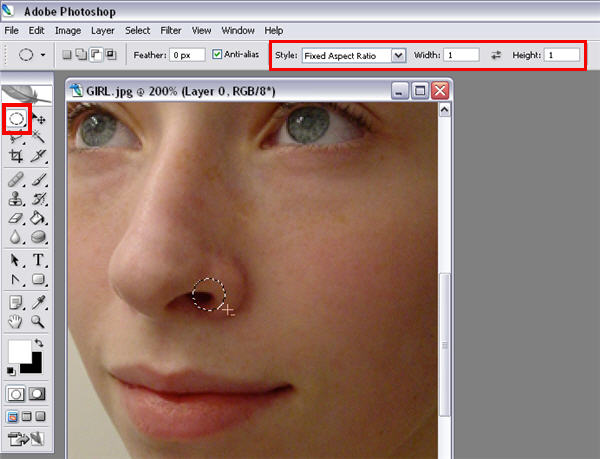
1. Select the Marquee tool, change it to the elliptical shape and draw a circle where you want your piercing to be. Make sure you change style to “Fixed aspect ratio” and set width and height to 1.
2. Go to Select >Modify > Border and add a 3px wide border to your selection.

3. Now create a new layer and go to Edit > Fill. In the menu, select “50% grey”. You can then unselect the area by pressing Ctrl+D.

4. Time to add a bit more realism to the piercing! First, adjust the perspective with Edit > Transform > Perspective.

5. Then, remove the extra nose area by using a layer mask.

6. One more step: add a Bevel and Emboss layer style to create the illusion of depth. You may want to tweak the gloss contour and the light angle to obtain a more realistic result.

7. Finally, use the Burn tool to add a fake “hole” to the end of the piercing.

8. Our virtual piercing is done! If you want, you can change the color of the ring by using a Color Overlay layer style. Remember too, you can use this same technique for piercings on eyebrows, lips or any other place you can think of.